Disclaimer: This article is for general information only and is not medical advice. If you have a medical condition, recent surgery, current symptoms, or have been mostly inactive, seek individual advice from a qualified health professional before starting a new exercise program.
You want stronger arms, but getting down on the floor makes push-ups feel impractical before you’ve attempted one.
Wall push-ups offer a standing alternative. You place your hands against a suitable wall, bend your elbows to move toward it, then press away. Your feet stay on the floor while your chest, shoulders, and the backs of your upper arms contribute to the movement.
The important question is where you should start. Your distance from the wall, movement range, and repetition count all affect the challenge.
This article explains how to find a manageable position, practice with control, and recognize when to repeat or adjust the exercise.
Why Copying a Demonstration Can Leave You Struggling
A demonstration shows one person performing one version of an exercise. It doesn’t necessarily show the position that suits your strength, mobility, or proportions.
Stand too far from the wall and you may struggle to press away. Your head reaches forward, your shoulders rise, or your waist sags. You complete something that resembles a repetition, but you’ve lost the movement you intended to practice.
The answer may be a more upright starting position—not a greater effort.
The NHS includes wall press-ups among its home strength exercises and advises building up gradually. They’re an accessible option, but their usefulness still depends on choosing an appropriate level. www.nhs.uk
Check Whether Standing Presses Suit You
Wall push-ups for seniors require steady standing, secure hand contact, and a controlled way to finish.
If you have a medical condition, recent surgery, current symptoms, or have been mostly inactive, seek individual advice before beginning a new exercise program. Existing treatment restrictions take priority over general instructions. www.cdc.gov · www.nia.nih.gov
If you rely on a walking aid, don’t put it aside simply to try this exercise. Ask a qualified health professional about a suitable setup.
“Low impact” upper-body exercise avoids jumping and landing, but it still loads your wrists, elbows, and shoulders. “Low impact” doesn’t mean pain-free for everyone or suitable regardless of symptoms.
Choose a Secure Wall Before Choosing a Repetition Target
Use a solid, unobstructed wall with room for both palms and enough space to approach and step away.
Avoid doors, glass panels, towel rails, shelves, and movable furniture. A closed door can open unexpectedly. A trolley can move. Neither becomes a suitable exercise surface because it happens to be at a convenient height.
Check the floor too. Remove loose rugs and trip hazards, keep hands and flooring dry, and wear secure footwear that grips.
A lower surface, such as a fixed kitchen counter, belongs later—if it’s appropriate at all. It can increase the demand substantially, and its edge or cupboards may interfere with comfortable positioning.
How to Begin Wall Push-Ups With Control
Treat your first attempt as familiarization rather than a strength test.
1. Prepare with comfortable movement
Move gently before pressing. An easy walk around the room, if suitable, followed by comfortable elbow and shoulder movements can help you avoid starting straight from prolonged sitting.
Then rehearse a very small press from an upright position.
2. Establish your hand and foot position
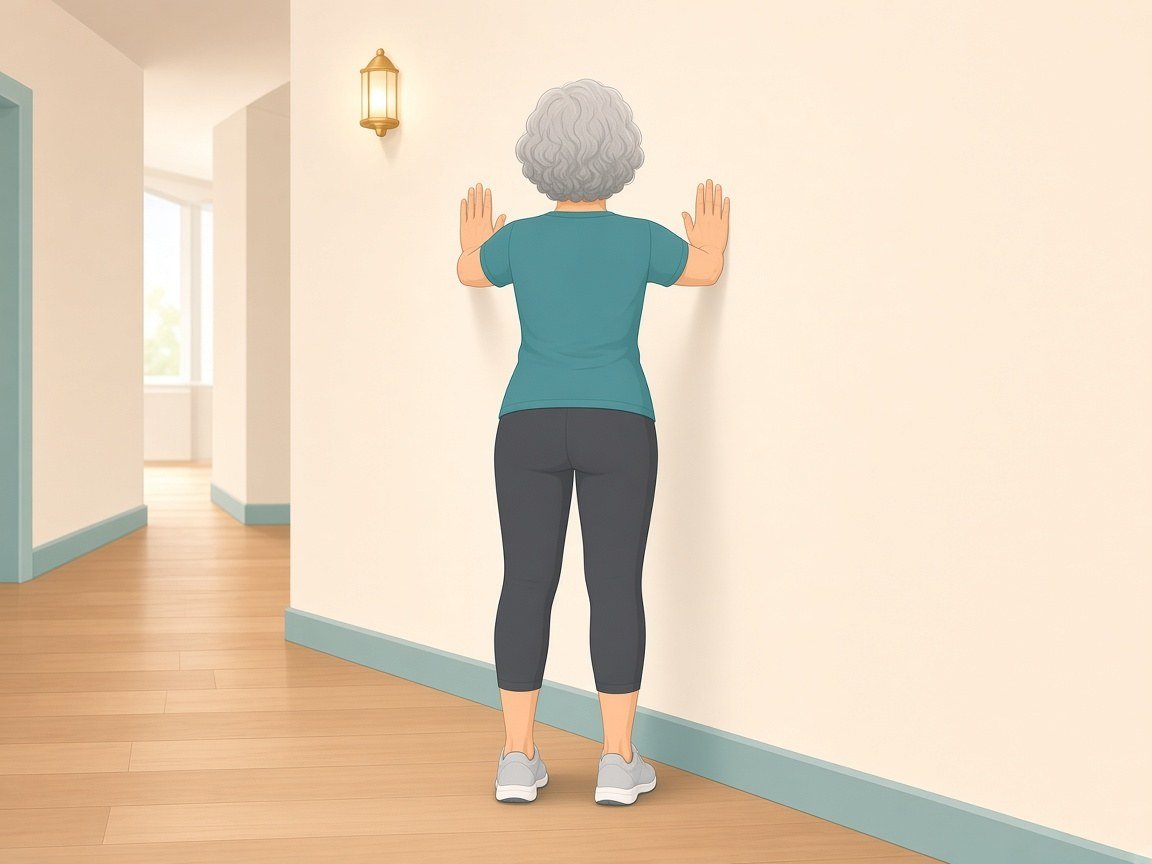
Face the wall with feet comfortably apart. Place your palms around chest height and roughly shoulder-width apart—the starting arrangement described in NHS wall press-up guidance. www.nhs.uk
Stand close enough that the exercise feels manageable. You don’t need to match a particular distance or copy someone else’s footprint.
3. Move toward the wall
Bend your elbows gradually, allowing your body to lean toward the wall while maintaining a long, comfortable body position.
Keep your head aligned with your trunk. Your chest and hips should travel together rather than your head reaching ahead or your hips moving backward.
4. Press away smoothly
Press through your palms to return to the starting position.
Avoid bouncing, jerking backward, or snapping your elbows straight. Use a range you can control; touching the wall with your nose or chest isn’t required.
5. Breathe and finish before struggling
Breathe in as you approach the wall and out as you press away. Don’t hold your breath to force the effort. This follows general strength-training breathing guidance from the National Institute on Aging. www.nia.nih.gov
Begin with only a few comfortable repetitions. End the set while your movement remains controlled rather than testing how many you can complete.
Three Technique Mistakes Worth Catching Early
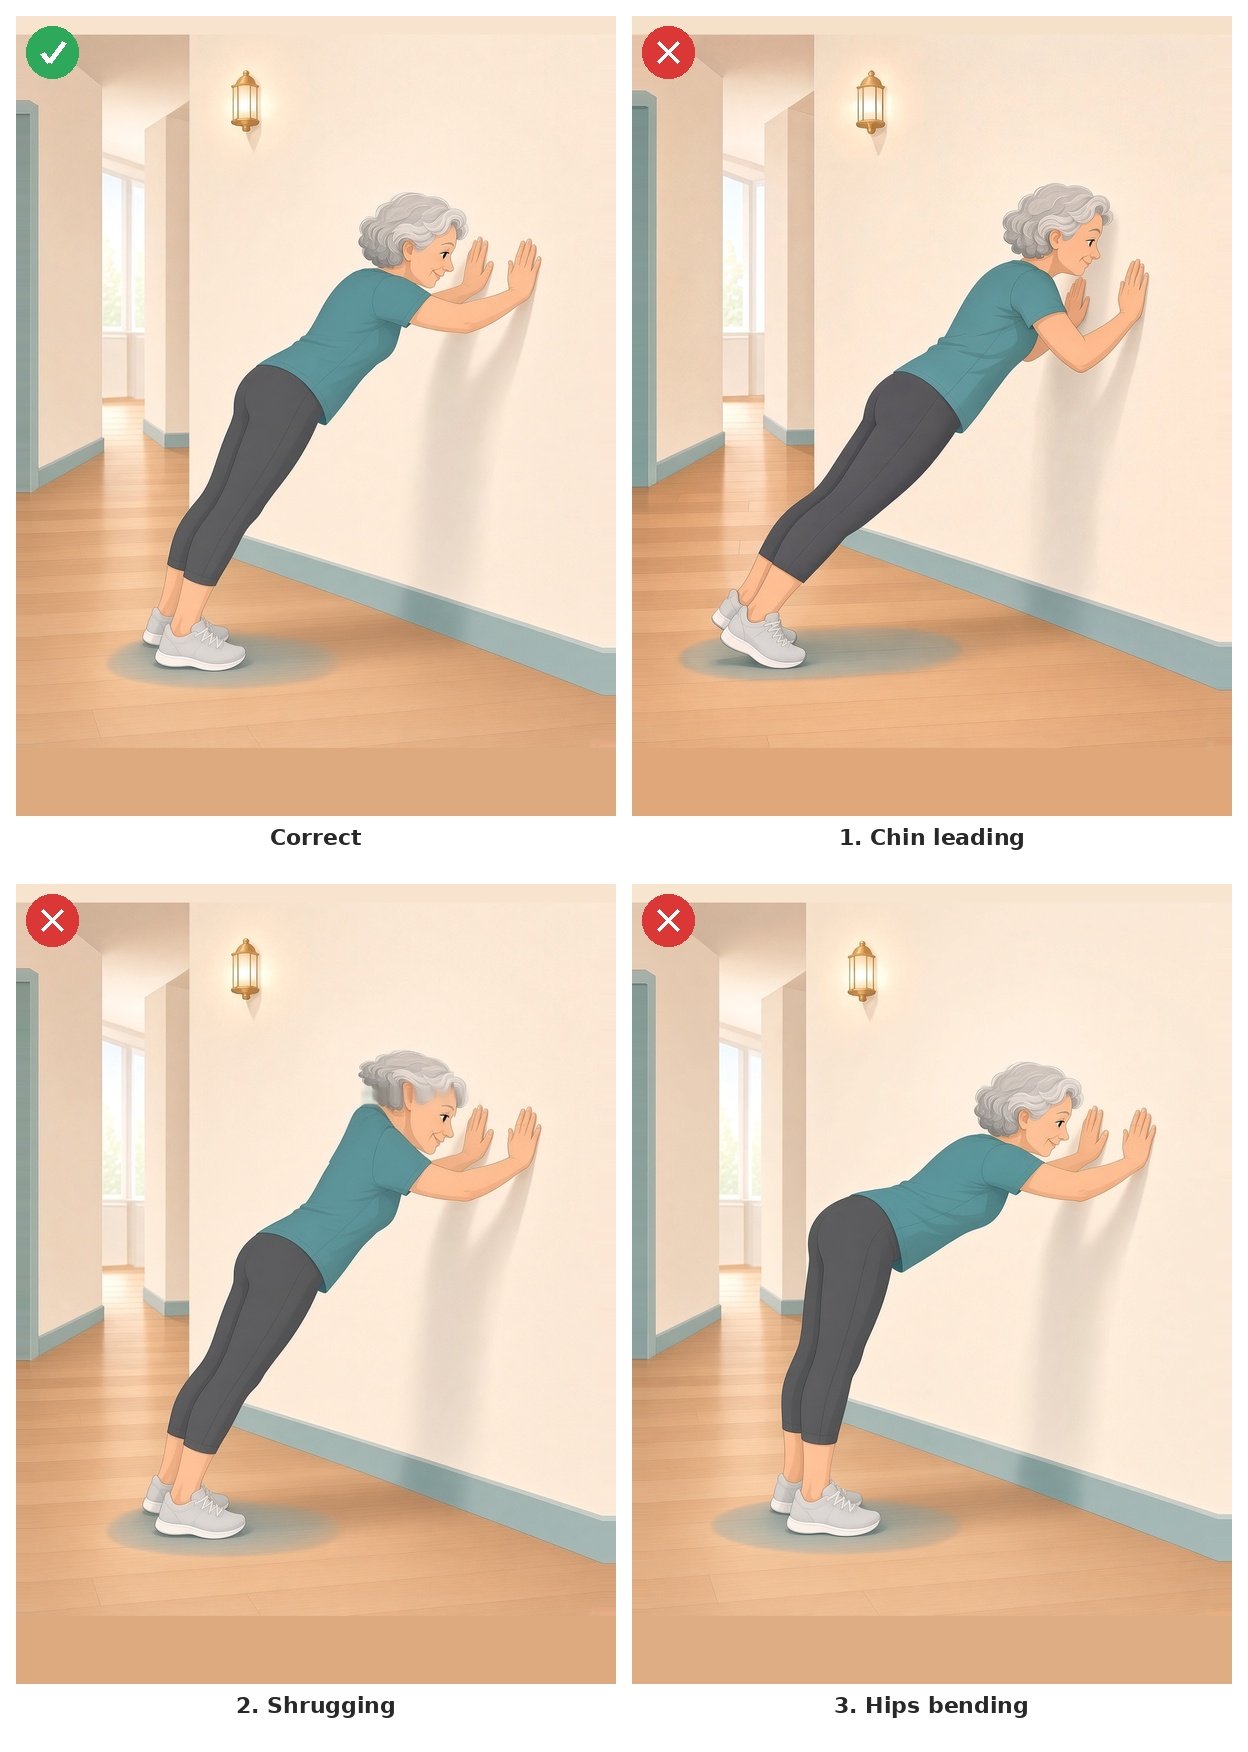
Reaching with your chin
Your face moves toward the wall, but your elbows barely bend.
Keep your head aligned with your trunk and use a smaller movement. The wall isn’t a target your nose must reach.
Shrugging your shoulders
Your shoulders creep toward your ears as pressing becomes difficult.
Return to standing and reset. If shrugging immediately returns, make the exercise easier instead of repeatedly correcting it during the set.
Bending at the waist
Your chest goes forward while your hips move back, turning the press into a bow.
Reduce the movement and think of your chest and hips traveling together. If that remains difficult, stand closer to the wall.
These mistakes aren’t reasons to abandon arm-strength exercises at home. They’re information about whether your current version is manageable.
Choose Effort You Can Repeat
A repetition is one approach toward the wall and press back. A set is a group of repetitions before resting.
Counting helps describe your practice, but it doesn’t measure its quality. Five controlled repetitions and five strained attempts aren’t equivalent.
As a cautious introductory example, you might try three to five repetitions. That’s not a target everyone must reach. Stop sooner if needed, and don’t turn an easy first attempt into a maximum-effort test.
Rest until your breathing settles and your arms feel ready. Repeat a small set only if you remain comfortable and controlled.
The goal is noticeable muscular effort with some capacity left—not exhaustion.
Use a Simple Progression Decision
When a session finishes, ask which response fits.
| What you notice | Sensible next decision |
|---|---|
| Controlled movement that still requires effort | Repeat the same level |
| Consistently easy practice with comfortable recovery | Consider one small increase |
| Technique deteriorates before your intended finish | Reduce repetitions or difficulty |
| Pain, dizziness, unusual breathlessness, or instability | Stop and seek appropriate advice |
This keeps progression connected to your response rather than the calendar.
A modest schedule on nonconsecutive days leaves recovery time between sessions. Twice-weekly strength exercise is consistent with general older-adult guidance from the CDC and the National Institute on Aging, although personal advice may differ. www.cdc.gov · www.nia.nih.gov
Change one thing at a time
Adding one repetition may be a manageable first increase. Keep your position unchanged while assessing it.
Later, moving your feet slightly farther from the wall can increase difficulty. Reposition while standing comfortably, then try fewer repetitions at the new angle.
Don’t move farther away, deepen the movement, and add repetitions simultaneously. Otherwise, you won’t know which change made the session harder.
Recognize Progress Without Chasing Soreness
Progress can appear before your repetition count rises.
Your last press may become as smooth as your first. You may breathe more freely or need fewer pauses. The same setup may feel more manageable.
Those observations matter.
Soreness isn’t required for a useful session. Don’t add work because you weren’t sore, and don’t treat aching arms as proof of success.
Notice recovery as well as performance. Persistent, recurring, sharp, or joint-centered pain calls for stopping and seeking advice. Severe chest pain or severe shortness of breath requires urgent medical help. In the United States, call 911 (or your local emergency number).
Keep Enough Information to Guide Next Time
A brief practice record can prevent guesswork.
Note your surface, approximate foot position, sets, repetitions, and comfort during practice and afterwards.
For example: “Usual wall position, one small set, controlled throughout; repeat next time.”
After illness or a longer break, begin below your previous level and reassess. Your record describes what you managed before; it doesn’t dictate what you must do today.
Go Further With Stronger Arms at Home
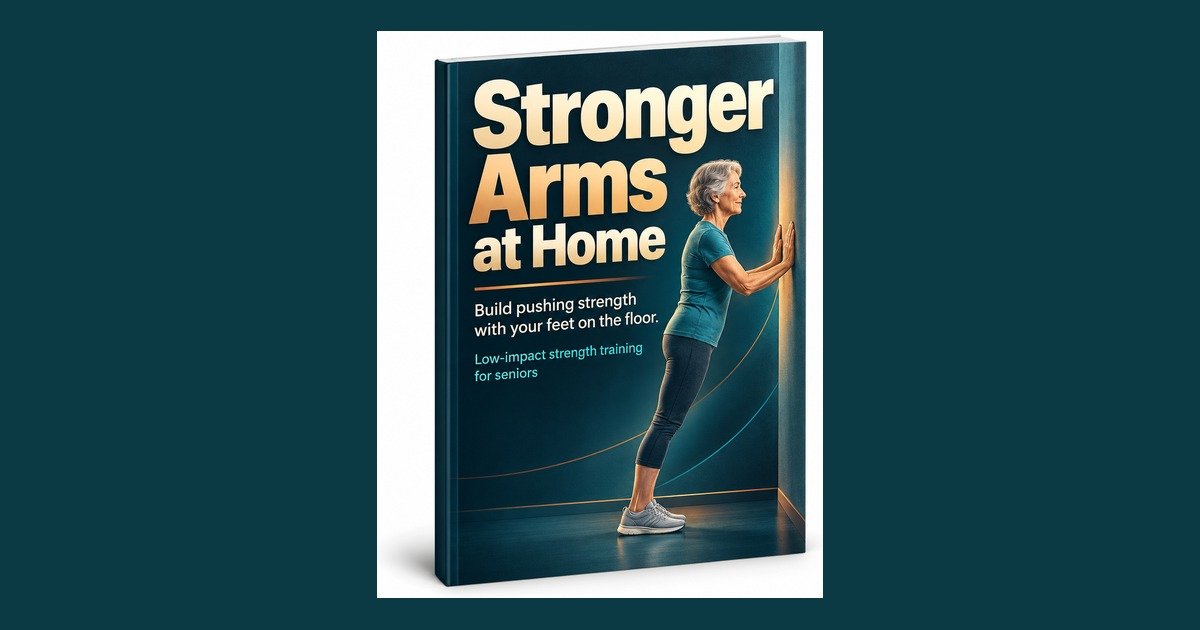
If you’d like a connected explanation of this approach, Stronger Arms at Home develops the standing press ladder in greater detail.
The focused PDF explains how to assess your setup, perform controlled presses, recognize common errors, and decide whether to repeat, progress, reduce the demand, or pause for advice.
It stays with one practical goal: developing upper-body pushing strength without floor push-ups or jumping.
Download the PDF: Stronger Arms at Home
Explore Stronger Arms at Home for a focused resource you can revisit as your practice develops.
Begin With a Position You Can Control
The best first wall push-up is one you can approach, perform, and finish comfortably.
Choose a secure setup, use a manageable angle, and let movement quality guide the amount you do. Then consider recovery before deciding what changes.
That gives you a dependable starting point—and a clearer basis for building from it.
Get more practical home-living ideas
Join The Self-Reliant Life — a free newsletter from Simple Self-Reliant Living: subscribe here