You don’t need a big backyard to grow some of your own food. A sunny patio, a balcony, a front step or even a bright driveway corner is enough to start. Container gardening is one of the easiest ways in, because you control the soil, you can move things around, and you can start as small as one pot.
This guide walks you through the basics, one simple decision at a time. No special skills, no expensive kit, and no pressure to get everything right the first season.
Why containers are a great place to start
Growing in pots has some real advantages for beginners and for anyone who’d rather not dig:
- Less work up front. There’s no lawn to remove or bed to build. You fill a pot and plant.
- Fewer weeds. Fresh potting mix starts out largely weed-free, so there’s far less weeding than in the ground.
- Easier on your back and knees. Pots can sit on a step, a bench or a sturdy table, so you’re not kneeling on the ground.
- You can move them. Chase the sun, pull plants under cover before a storm, or tuck them close to the kitchen door.
- It works for renters. When you move, your garden comes with you.
The trade-off is that pots dry out faster and need feeding more often than garden beds. That’s easy to manage once you know about it, and we’ll cover both below.
Step 1: Find your sunniest spot
Sunlight matters more than anything else you’ll buy. Most fruiting vegetables, such as tomatoes, peppers, beans and squash, do best with about six to eight hours of direct sun a day. Leafy greens and many herbs can manage with less, roughly four to six hours.
Spend a day noticing where the sun falls. Check in the morning, around midday and mid-afternoon. A south- or west-facing spot usually gets the most light in the US. If your space is shady, don’t give up: lettuce, spinach, kale, parsley and mint are forgiving choices.
Step 2: Pick the right pots
The pot doesn’t need to be fancy, but it does need two things.
Drainage holes. Water must be able to drain out the bottom. Without holes, roots sit in water and rot. If you love a pot that has no holes, use it as an outer cover and put a plastic pot with holes inside it.
Enough size. Bigger pots hold more soil and more water, so they dry out more slowly and are more forgiving. As a rough beginner’s guide:
| Crop | Suggested minimum pot |
|---|---|
| Lettuce, salad greens, radishes | 6–8 inches deep, any width you like |
| Most herbs (basil, parsley, chives) | About 1 gallon each |
| Peppers and eggplant | About 3–5 gallons per plant |
| Tomatoes | At least 5 gallons per plant; bigger is better for large varieties |
| Bush beans | A wide pot about 8–12 inches deep |
| Potatoes | A large pot or grow bag, around 10 gallons or more |
These are starting points, not strict rules. Check the seed packet or plant tag too, since compact “patio” varieties are bred for pots.
Materials, briefly:
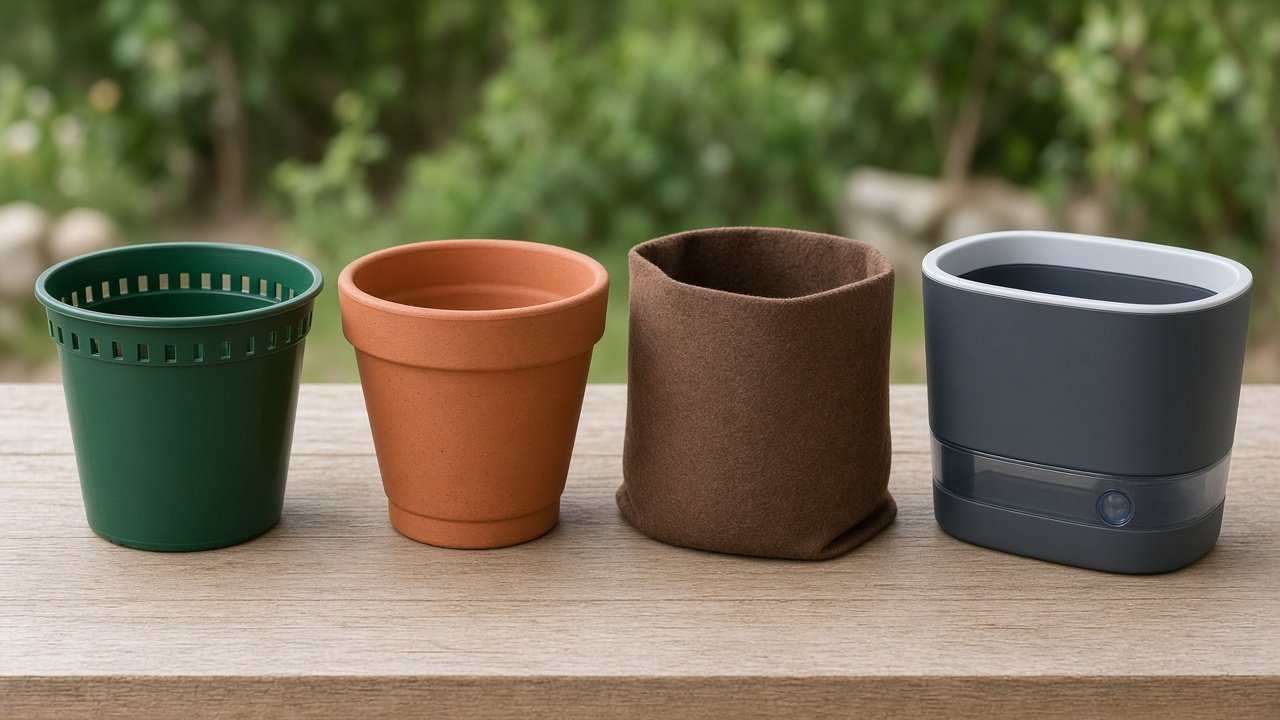
- Plastic is light, cheap and holds moisture well.
- Terracotta looks lovely but dries out quickly, which matters in hot weather.
- Fabric grow bags are light, fold flat for storage and let roots breathe, but they also dry out faster.
- Self-watering containers have a water reservoir in the base. They’re a great choice if you’re away often or find daily watering hard.
Recycled containers like food-grade buckets work well too. Just drill drainage holes, and avoid anything that held chemicals.
Step 3: Use potting mix, not garden soil
This is the most common beginner mistake. Soil dug from the garden packs down hard in a pot, drains poorly and can bring in weeds and pests. Buy a bagged potting mix (sometimes called container mix) instead. It’s made to stay light and airy so roots get both water and air.
Fill the pot to about an inch below the rim so water doesn’t spill over the edge when you water. You don’t need a layer of gravel at the bottom; plain potting mix all the way down drains better.
Step 4: Choose easy crops to start
Start with two or three crops you actually like to eat. A few reliable beginner picks:
- Lettuce and salad greens. Quick, happy in partial shade, and you can pick outer leaves for weeks.
- Herbs. Basil, parsley, chives and mint are easy and save money at the store. Give mint its own pot, because it spreads.
- Cherry tomatoes. Usually easier and more productive in pots than big slicing tomatoes. Look for “patio” or “compact” on the label.
- Bush beans. Compact, quick and productive, with no tall trellis needed.
- Peppers. They like heat and sun and suit a 3–5 gallon pot nicely.
- Radishes. Some are ready in about a month, which is very encouraging for a first-timer.
For your first season, buying small starter plants (often called transplants) for tomatoes, peppers and herbs is easier than growing them from seed. Lettuce, radishes and beans are simple to grow straight from seed.
Step 5: Plant at the right time for your area
Timing depends on where you live. Find your zone on the USDA Plant Hardiness Zone Map, and check your local last-frost date. Your state’s Cooperative Extension service is a great free source of local planting calendars.
A simple rule of thumb: cool-season crops like lettuce, spinach and radishes prefer spring and fall. Warm-season crops like tomatoes, peppers, beans and basil go out after your last frost, once nights stay mild.
Step 6: Water well, and check often
Pots dry out much faster than garden beds, especially small pots, terracotta and grow bags in summer.
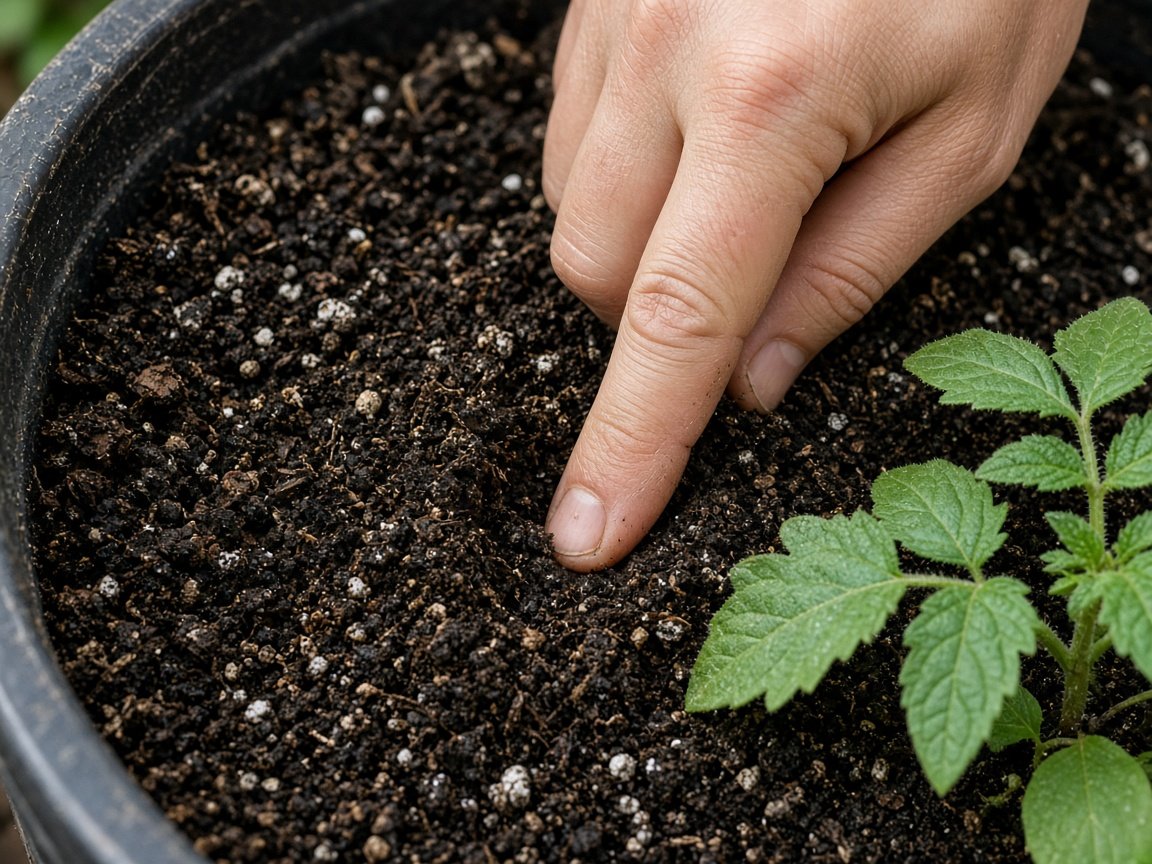
- Check daily in warm weather. Push a finger into the mix. If the top inch feels dry, it’s time to water.
- Water deeply. Keep going until water runs out of the drainage holes, so the whole root area gets a drink.
- Water the soil, not the leaves. Morning is ideal, so any splashed leaves dry during the day.
- Lift to check. A pot that feels light usually needs water.
If daily watering is a struggle, group pots together, move them out of harsh afternoon sun on very hot days, use bigger pots, or try self-watering containers.
Step 7: Feed your plants
Every time you water, some nutrients wash out of the bottom of the pot. That’s why container plants need regular feeding. You have two easy options:
- Slow-release fertilizer mixed into the potting mix at planting, which feeds gradually for weeks or months.
- Liquid fertilizer added to your watering can every week or two during the growing season.
Many potting mixes contain some fertilizer to begin with. Always follow the label for how much and how often, because more is not better. Hungry tomatoes and peppers usually benefit the most from regular feeding.
Step 8: Keep an eye out, then harvest
Take a slow walk past your pots every day or two. You’ll spot thirsty plants, yellowing leaves or pests early, when they’re easiest to handle. Picking off a few caterpillars or spraying aphids off with water is often all you need.
Harvest often. Picking lettuce leaves, beans and herbs regularly encourages many plants to keep producing.
Common beginner mistakes (and easy fixes)
- Pots too small. Plants struggle and dry out fast. Go up a size.
- No drainage holes. Roots rot. Drill holes or use a nursery pot inside.
- Garden soil in pots. It compacts. Use potting mix.
- Too little sun. Plants grow leggy and fruit poorly. Move them or grow leafy greens.
- Forgetting to feed. Leaves turn pale and growth slows. Start a simple feeding routine.
- Starting too big. Ten pots can feel like a chore. Three pots you enjoy beats ten you dread.
A simple first container garden
If you’d like a ready-made plan, try this for your first season:
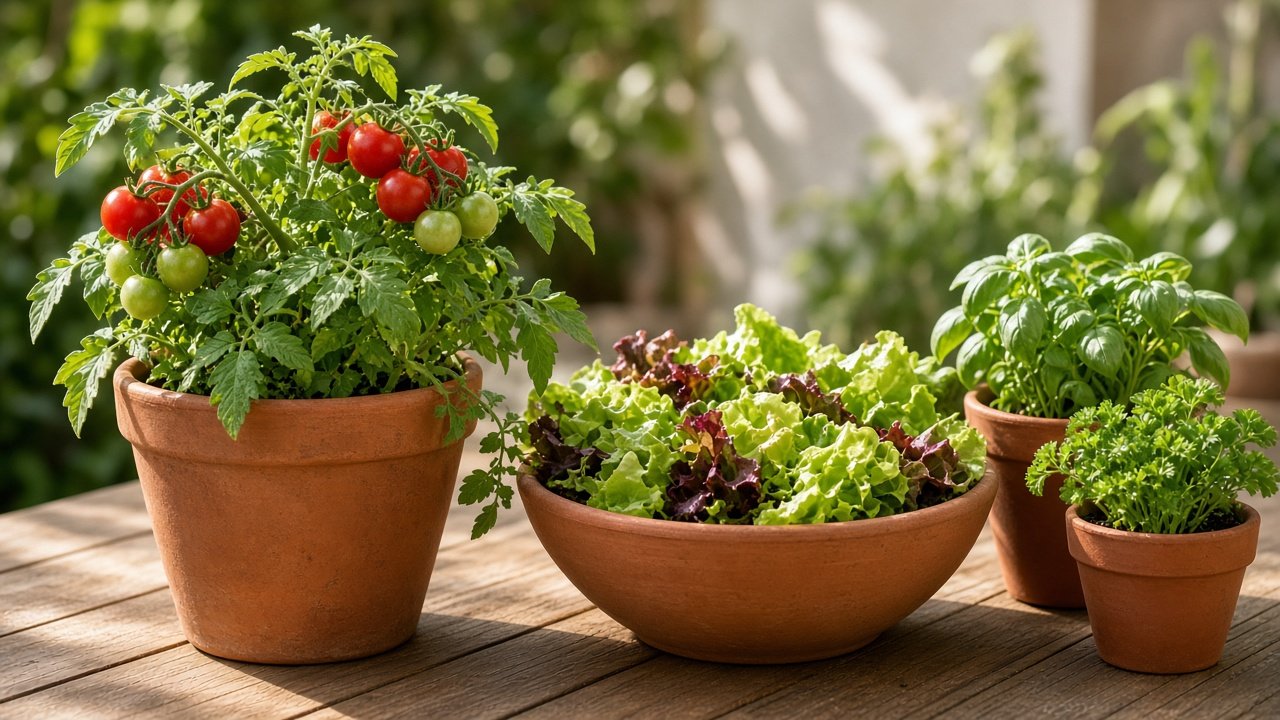
- A 5-gallon pot (or larger) with one patio cherry tomato.
- A wide, shallow pot of mixed lettuce or salad greens.
- A 1-gallon pot each of basil and parsley.
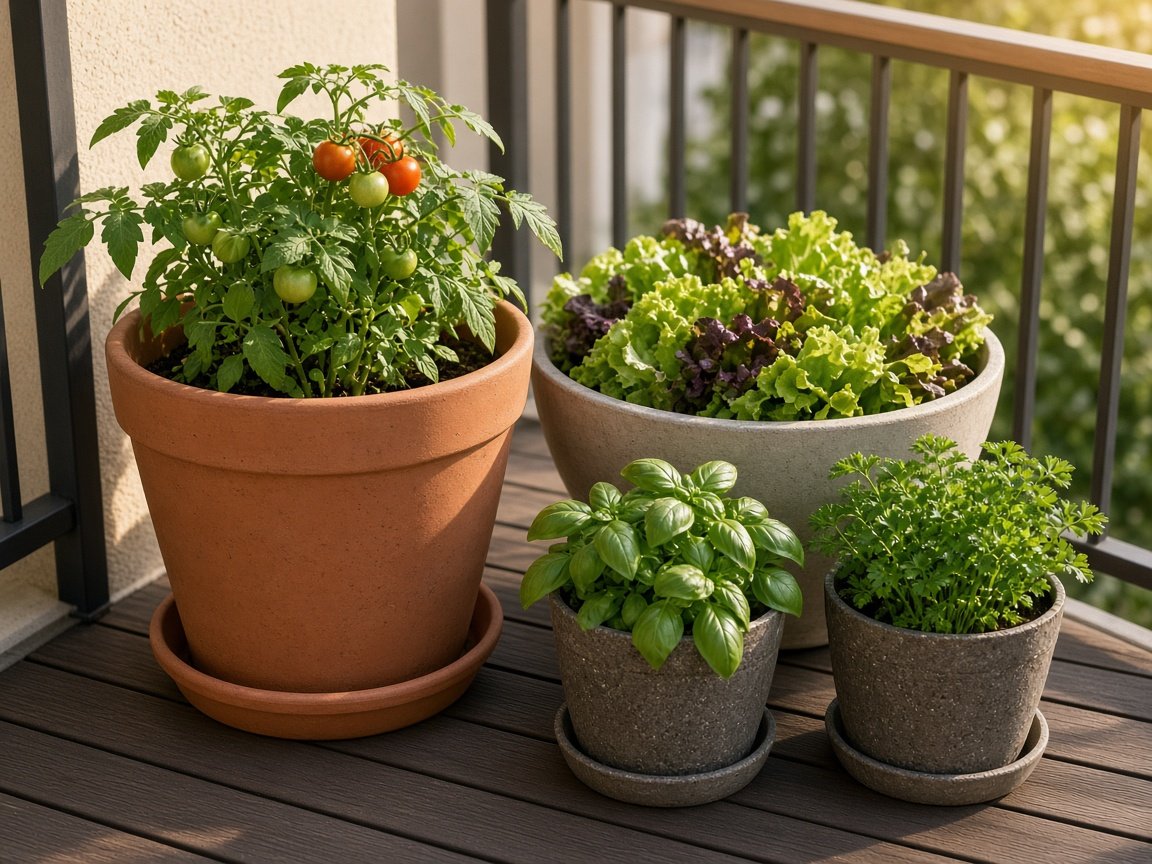
That’s four pots, a bag or two of potting mix, and some fertilizer. It’s enough to put fresh food on your plate and teach you how your space behaves, without taking over your week.
Start small, learn as you go
Container gardening is forgiving. If something doesn’t work, you’ve lost a pot of mix and a few seeds, and you’ve learned something about your sun, your watering or your timing. Next season you’ll be better at it.
Pick one sunny spot, choose two or three crops you love, and plant this week.
Want a simple plan for the rest of your self-reliant journey? Join The Self-Reliant Life, our free weekly newsletter, and get practical, beginner-friendly ideas for growing food, preparing your home and saving money, delivered to your inbox.